Frequently Asked Questions
KitchenPal is the only pantry manager, grocery list, product comparison, and recipe ideas app, all rolled into one. The app learns and provides suggestions the more you use it, just like a personal assistant.
Kitchen
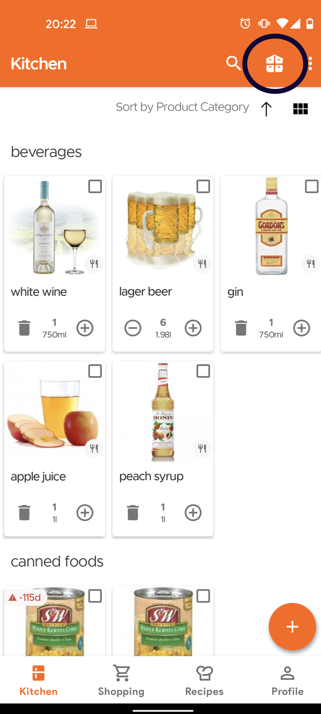
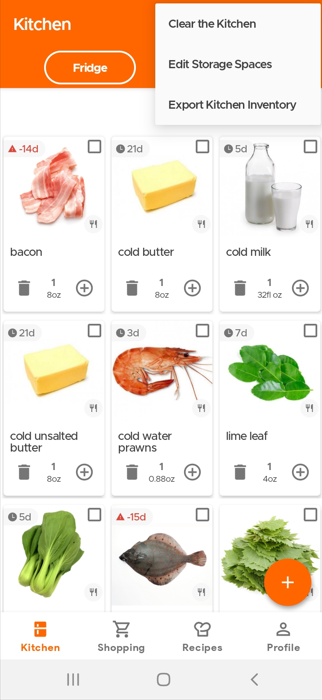
Single Screen View
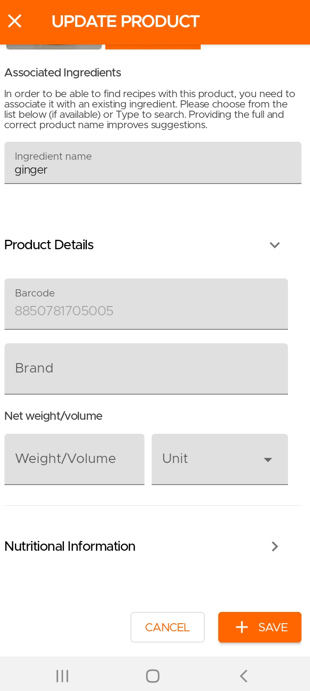
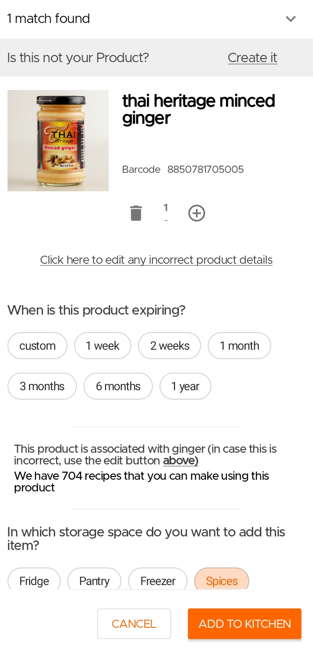
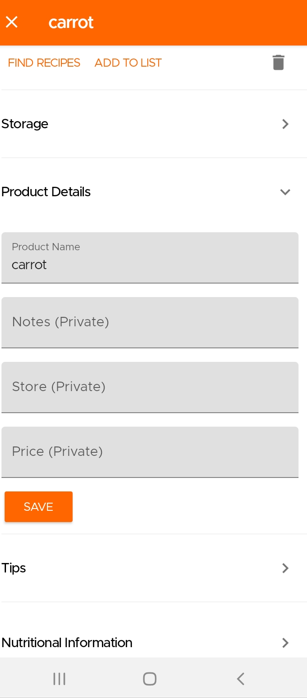
Basically our app uses the 'associated ingredient' to categorize a product and also to find recipes that can be used with that product. Majority of the time, the app's algorithm selects the correct association, but in some cases where you encounter incorrect details, you can update/correct this as well. Simply click and open the item in your Kitchen list and scroll to the Product Details section (see the 2nd Image below).
Also, products that have missing associated ingredients (because our algorithm couldn’t decipher the product) will automatically get organized in the 'Products not associated' category. In such cases where it's missing, you can add the associated ingredient and that will move the product to the right predefined category.
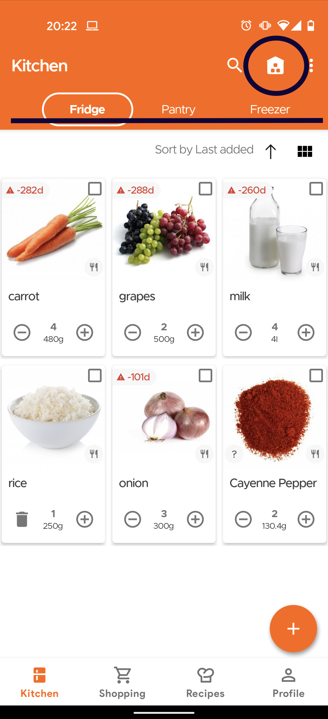
Multi-Tabs View
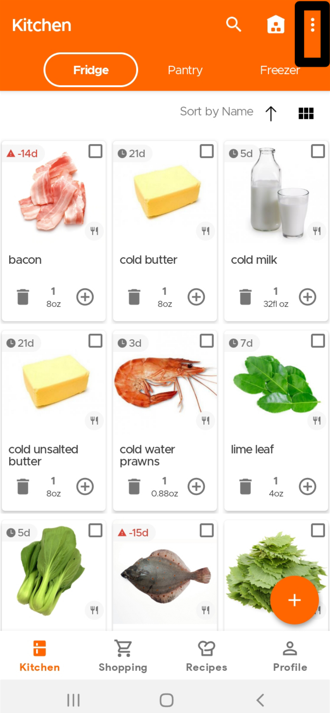
To switch to this view, just click on the house icon on Android or open the Overflow menu (three dots) on the right and Choose the Storage View option. Once you are on this screen, no matter from which tab/storage space you open the scanner, you will get the option to choose/add the storage space. So when you want to first add items (even if they are 30-40 items) just change the view to as shown in the image below, and you can start scanning and adding items to all the different storage spaces, instead of going to each one individually because the scanner result page will let you choose any storage option you want directly.
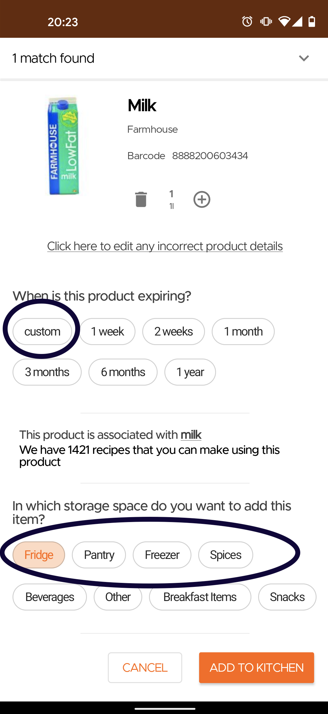
You will then see a result page like this which lets you choose where you want to add the item (and also add custom expiration dates which is optional)
You can also toggle between these two different views (single screen or by storage location) whenever you want and the system will remember which item goes where.
And if you are adding items manually or using voice, simply first go to your desired storage space before adding the items. Again this option is only available if your Kitchen is organised by Storage Spaces and not the default single screen view (arranged by Product Categories/Types).
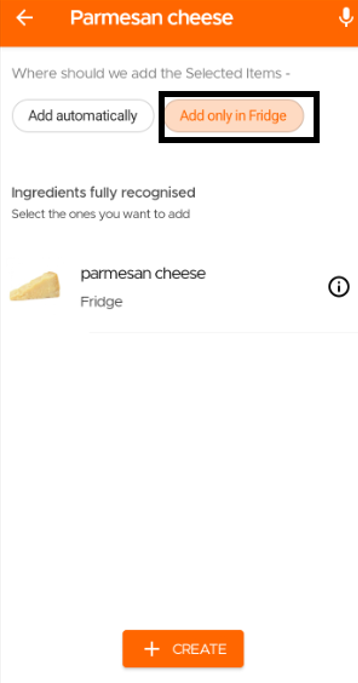
Then it will give you the option of 'add automatically' or the current storage tab you were at (Add Automatically means our algorithm determines where to add your item based on its usual storage compartment).
Hence, our users have the option to choose whether they would like their items to be added based on a default storage or their preferred storage.
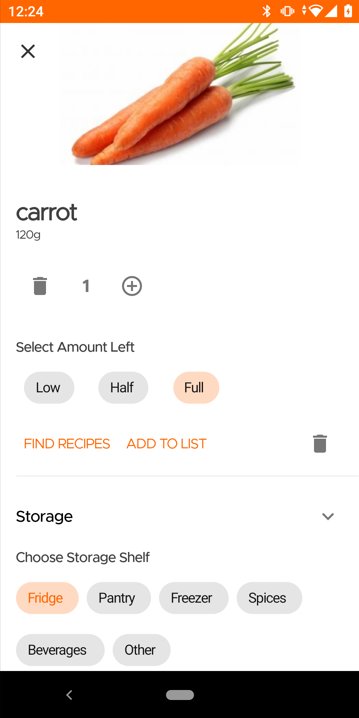
To move already added items from one space to another, you can Drag & Drop the collapsed card from the one tab to another (e.g, Fridge Tab to Pantry Tab) or open the product card of the item and change the storage shelf within the storage section (from Fridge to Pantry for example). The drag and drop also allows for multiple items to be moved at one time.
Please see below on how to add a new storage space.
First, please ensure you are on the Storage View screen within the Kitchen (by clicking on the House icon). Then click on the Overflow icon (three dots) at the top right corner of your screen.
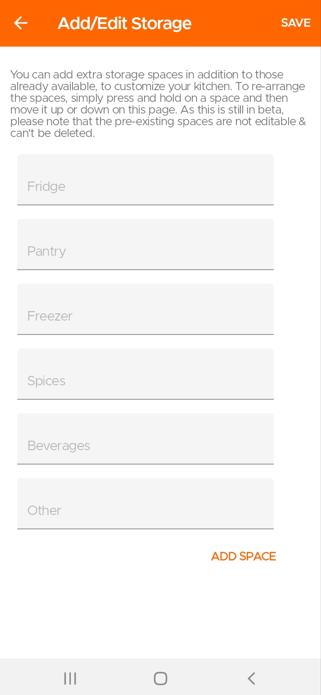
Then click the 'Edit Storage Spaces' option.
Then click 'Add Space':
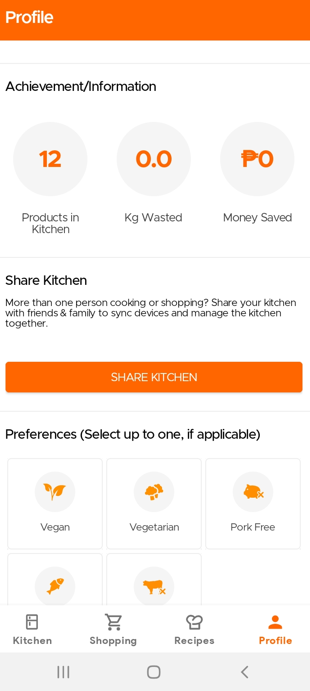
You can share your Kitchen (which will become the master kitchen) with your partner or more family members by using the Share Kitchen feature from the Profile Page. This generates a unique link for each family member (you will have to generate a new link separately for each member) which you can then share with them. Once they click on the link to accept (if they haven’t downloaded the app as yet, the link will first take them to the App/Play Store), their Kitchen syncs with yours and now they will see the same shelves, products, etc and they can add, delete or update the common kitchen. Any Shopping Lists you create will also be shared with your family as well. You can see more details in the short video here for Sharing the Kitchen.
To disconnect, you can go to the Profile page and disconnect
from the Shared Kitchen.
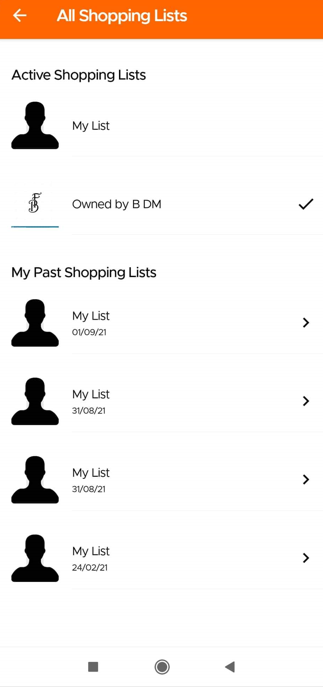
To see the Shared Shopping List, they simply need to click on the All Shopping Lists icon and select the Shared Shopping List.
Here you can see all of your shopping lists, including all active and past lists.
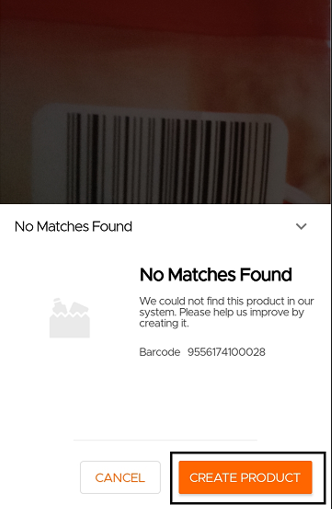
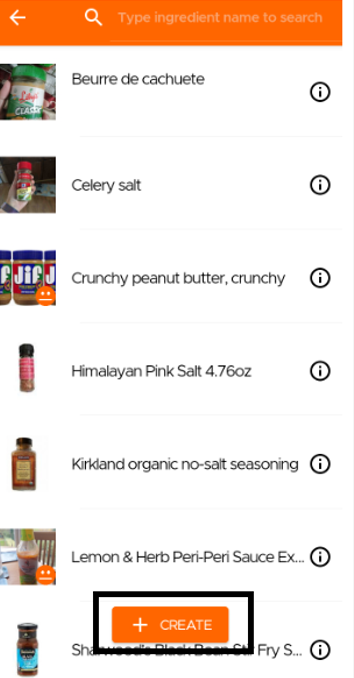
In case while adding a product, you do not find it in our DB, you can use the Create option to still add the item to your inventory.
When scanning your items
When manually adding items with Text Search
When scanning an item, our users have the option to edit any incorrect product details, as shown in the image below. For example, if you see the wrong image or incorrect product name with the scanned barcode, you have the option to edit and correct it.
In the below screen image you can see how to edit
Click the Save button once done editing the Product Details.
If you wish to add the same item/product multiple times separately (and not just increase quantity), you can do that by again entering the item and changing the expiry date from the one previously entered (or choosing a different storage space for the newly added item compared to the previous one).
Basically, the app consolidates the same product/item only if both the assigned storage space and the expiry dates are the same. Please see this video for more details.
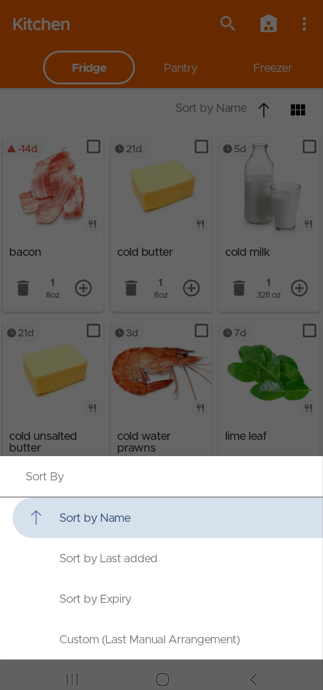
Our users can use our sort function if they want to sort the items in their Kitchen (available next to the option to switch to List View, on the right above the product cards).
Options include: by expiry date, product category, name, and last added. Choosing Custom sorting orders the items by any rearrangement previously done manually by the user. Clicking on the same sort option a second time, switches the order from ascending to descending. See examples in the images below.
Sorting your items in the Single-Screen View

Sorting your items in the Multi-Tabs View with Storage Spaces
Users can save private notes about their items/products. Simply open the product card of your item by tapping on it and scroll down to the Product Details section.
Recipes
Now you can upload your own recipes or your favourite recipes from other blogs/sites. It may take our team a couple of days to sometimes approve these recipes though (we check to see if everything is imported correctly)
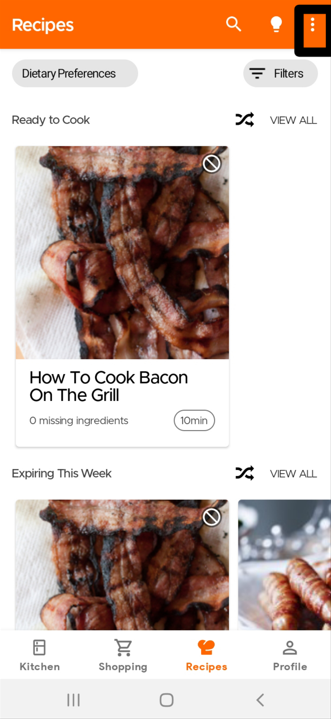
Please go to the Recipe Section and click the Overflow icon (three dots) on the top right:
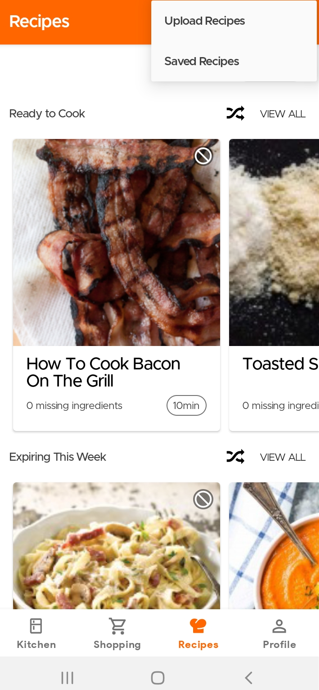
Click on Upload Recipes
Then you will have the option to choose if you want to submit a recipe from another website or manually submit your own recipe.
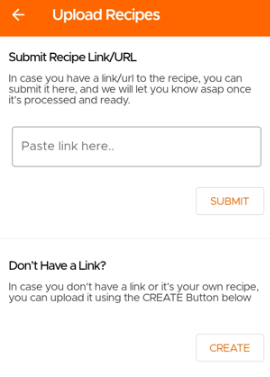
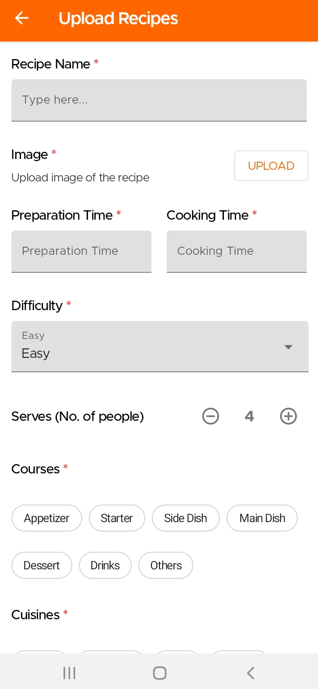
If you wish to manually submit your own recipe, you will need to fill in the required fields marked with an asterisk.
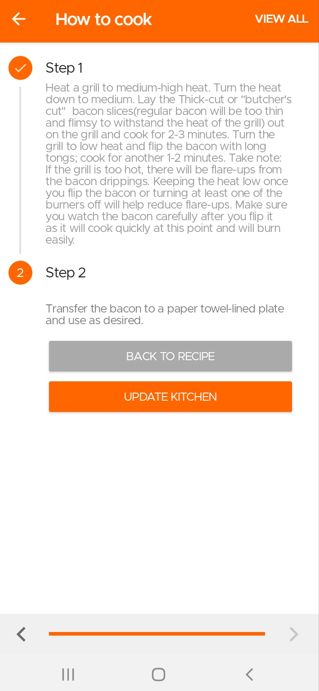
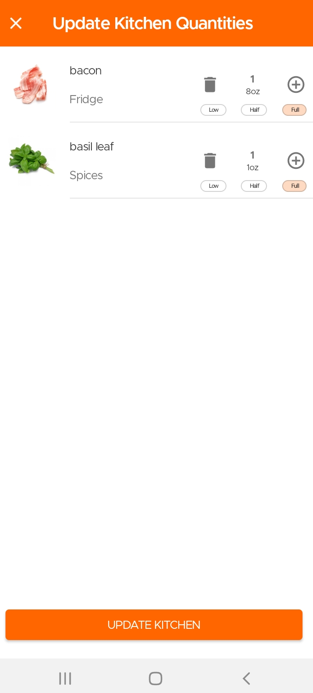
When you finish cooking a recipe, the app will give you an option to deduct the used items from your pantry and keep your kitchen updated.
Go to the Recipes Section and click the Overflow menu (three dots) at the top.
Then click on Saved Recipes to see all the Recipes Saved or Submitted by you.
Shopping
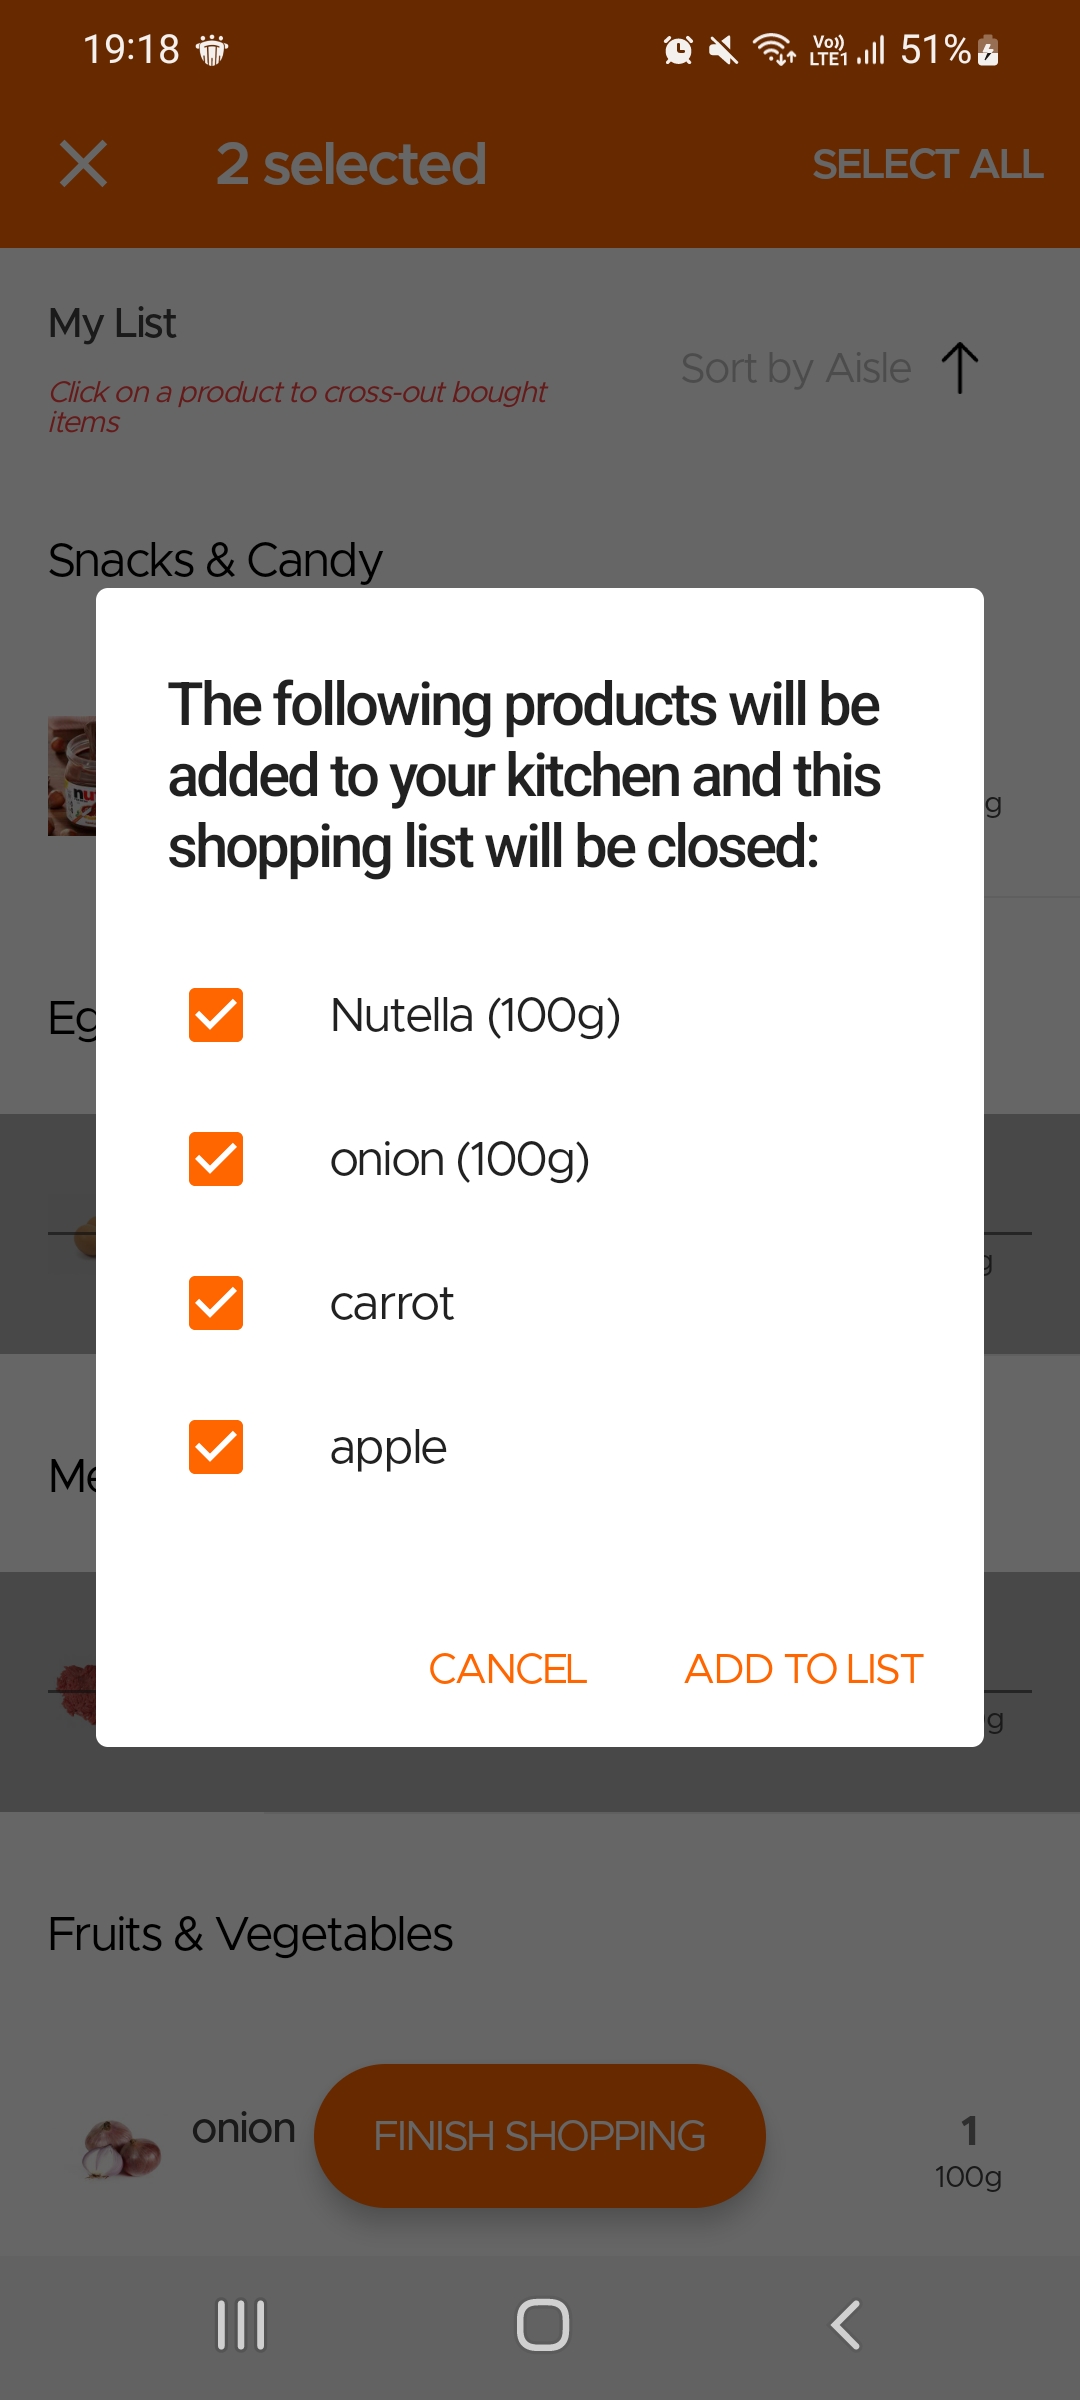
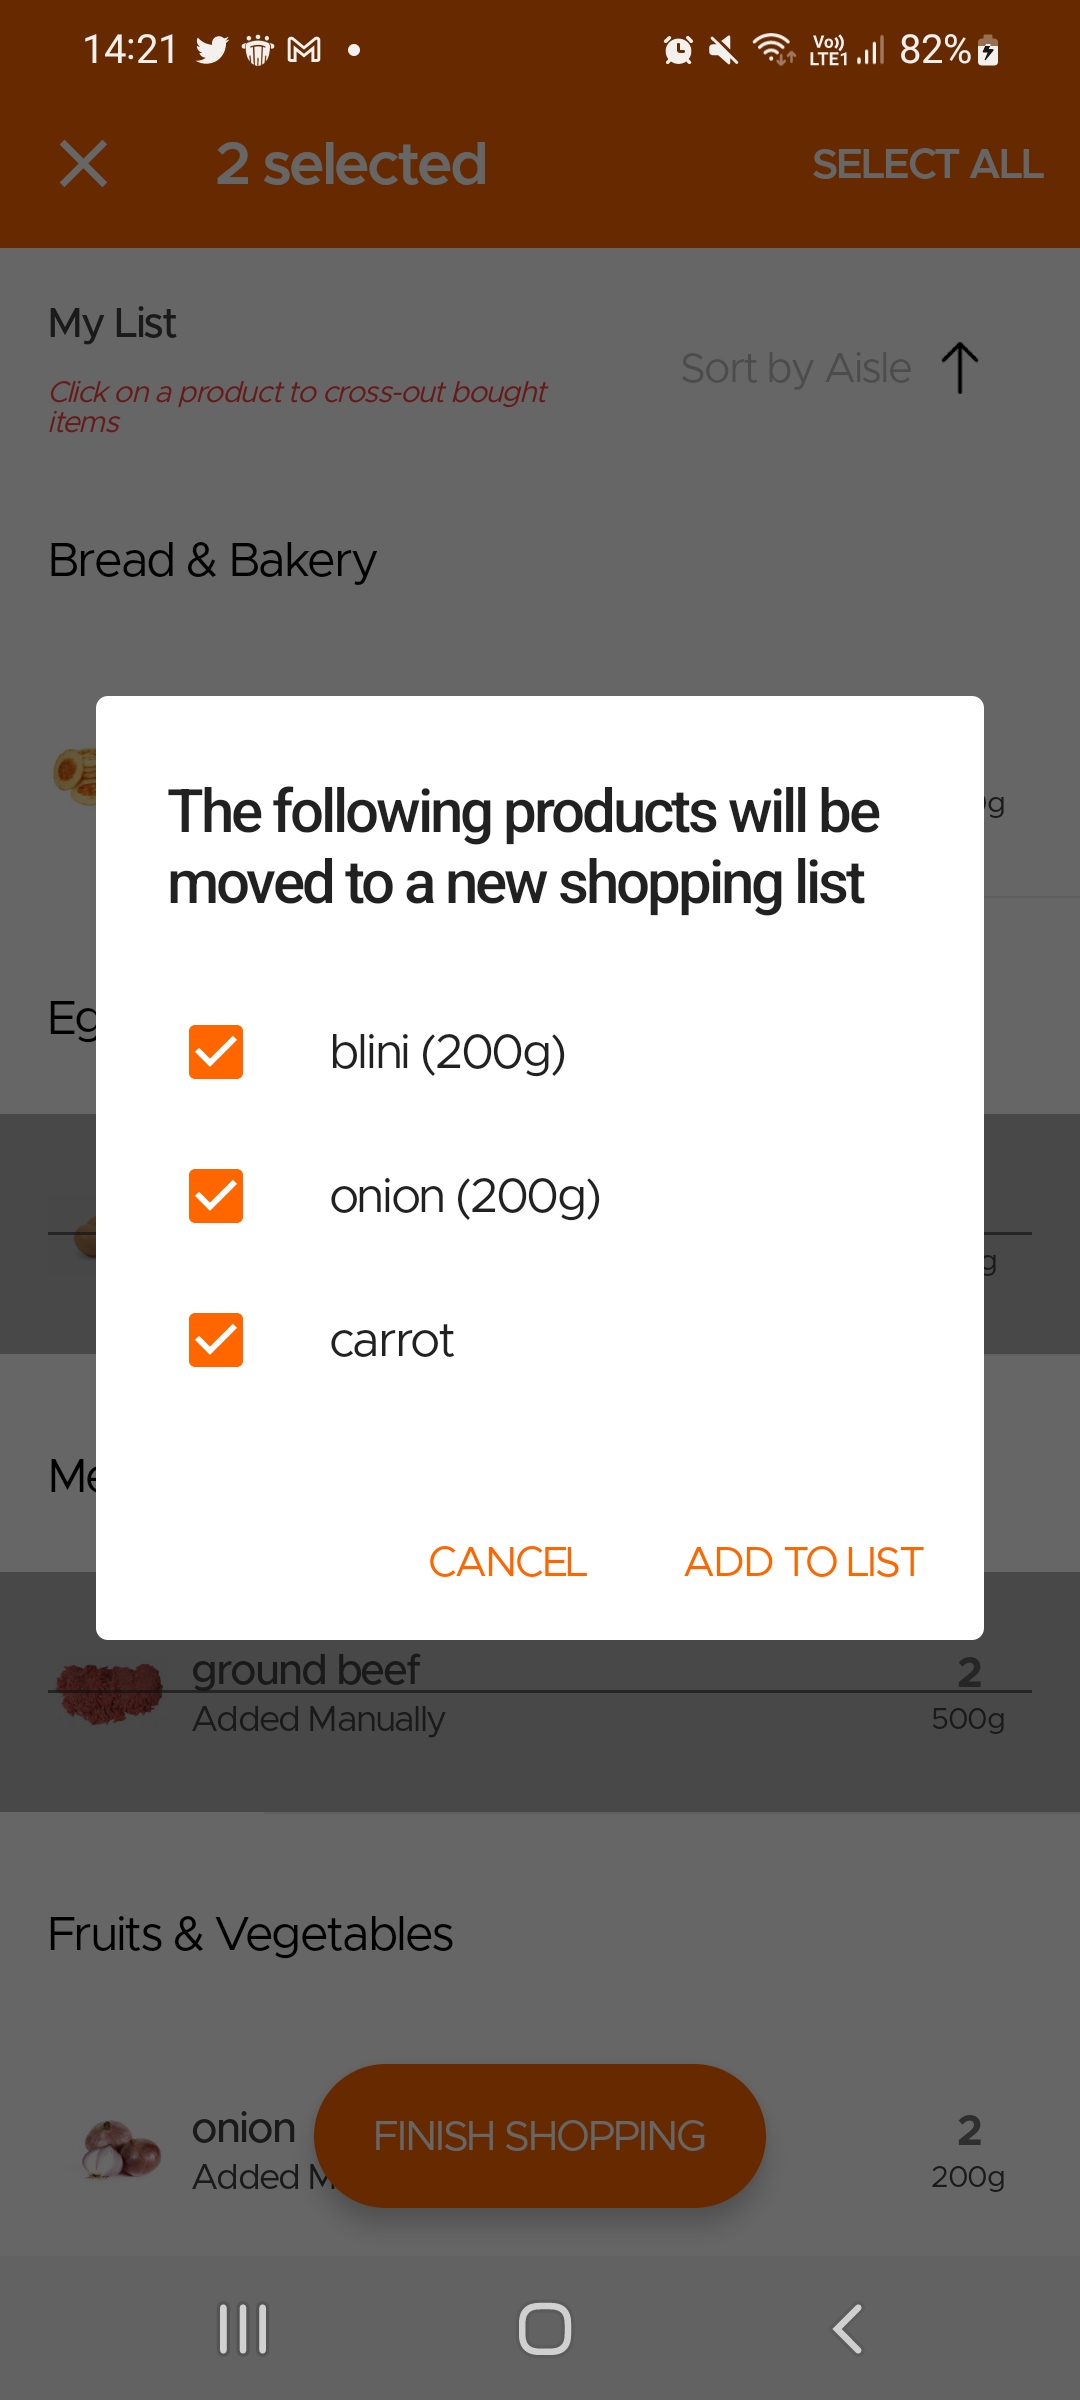
When you finish making your grocery list and go shopping, use the Checkout button so that you can cross-out items as you shop. When you are done, you can click on the Finish Shopping button on the the page to automatically move bought items to your Kitchen. You will then also get the option to move any unpurchased items to a new Shopping List.
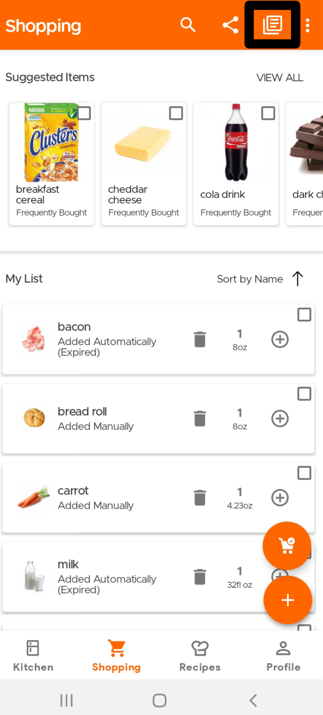
To access any Shared Grocery/Shopping Lists, you only need to click the All Lists icon (Notepad) on the top of the Shopping List page. Here you will have the option to switch between all Active Shopping lists, including any shared ones. And any changes you make to a shared Shopping List will be updated in real time to reflect across all users/devices.
Settings
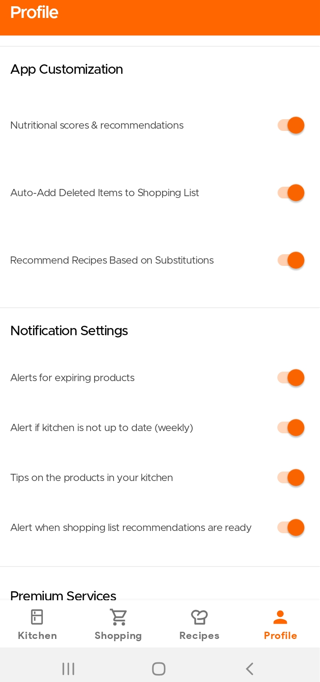
Users have the option to disable or turn on certain notifications or features. Simply visit your Profile Page and scroll down to App Customization and Notifications section.
To change your photo on your profile, just simply change your photo directly on your email account or Facebook account that you are using for KitchenPal, and your new display photo will also reflect on the app.
You will soon have the option of updating this photo on KitchenPal directly too.